

How To Paste Words On Avery Template
 Are you planning on inserting/fitting positioning images or text into formated Give-and-take label templates?
With this Howto, you can:
- Learn how to insert images, text, clipart and other objects y'all tin use to create labels
- access easy instructions on how to resize Images, clipart and text in the the label jail cell, as well as positioning.
Inserting Images onto Give-and-take Characterization Templates
Images and text can add a ton of value to your labels. For instance, y'all can add together your logo to your business' return accost labels and add names to your product labels, amongst many other uses. However, doing this tin be a bit complicated at showtime, but once yous get a hang of the process, it'll become a second-nature.
And that'due south where nosotros come in. In this tutorial, we'll testify you how to add images and text to your WorldLabel labels using Microsoft Word. We're using the WL-875 label (equivalent to Avery 5160) in this example—you tin can download this label and many others for free on our website.
Note: these processes are almost identical for Microsoft Discussion for Windows and Mac, so both platforms can follow along!
Before You Start
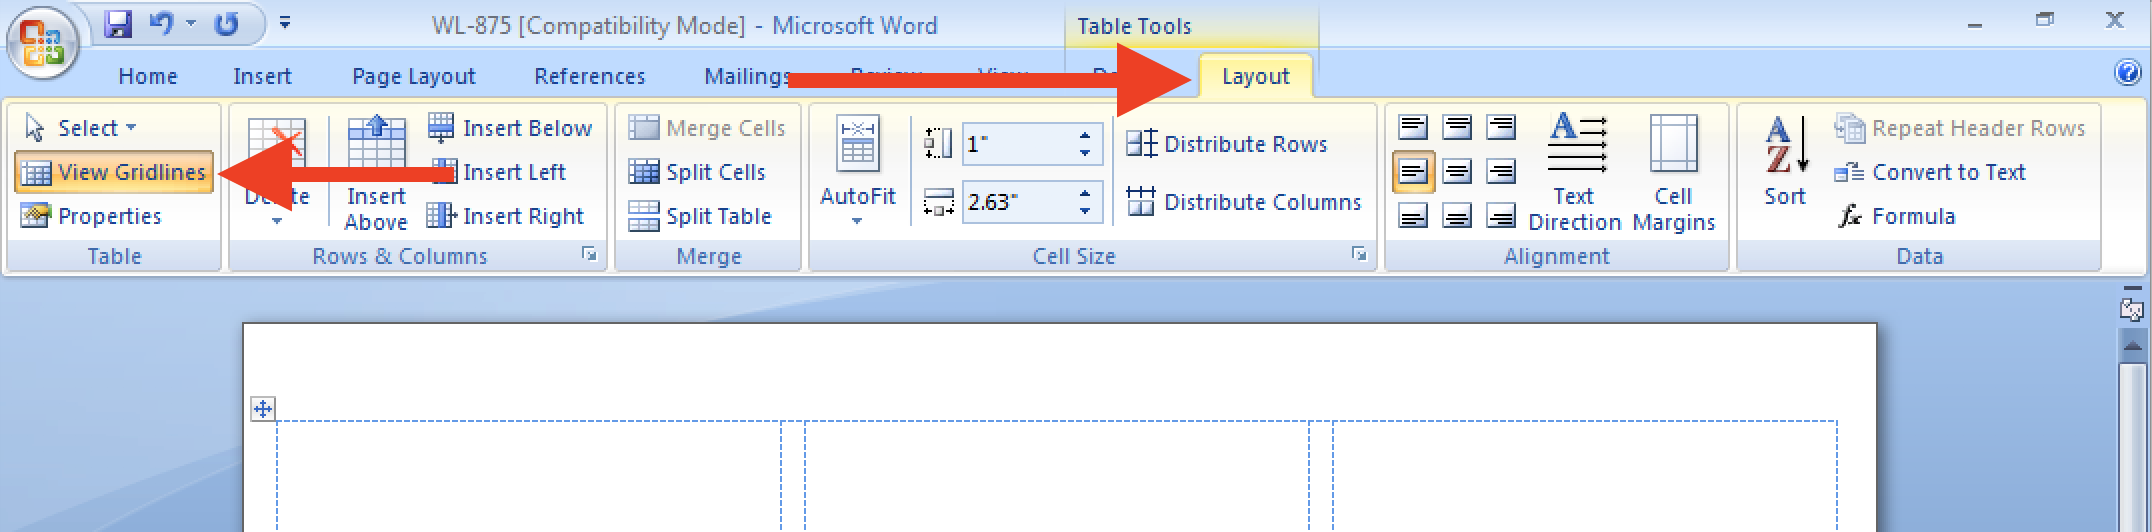
Earlier y'all start, download a characterization template from our Downloads folio and open information technology in Microsoft Discussion. Then, click Layout from the Office ribbon and select View Gridlines from the left-hand side of the window (pictured) to view the characterization's borders.
Adding Images to your Labels
From photographs to logos to clip fine art, you can add virtually any type of image to your labels. To practise this:
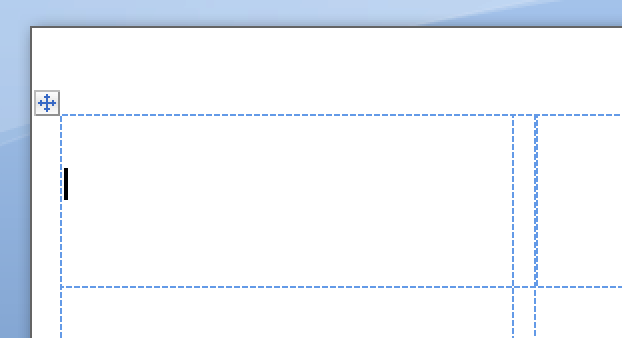
one. Click into the first label on your page.
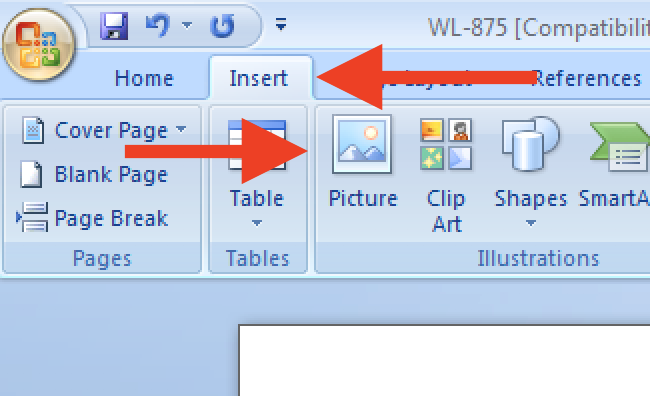
2. Await at the Part ribbon and click Insert. You will see 2 options on the left-manus side of the screen: Picture and Clip Fine art. Nosotros'll exist adding a logo to our label, and then click on the Motion picture option.
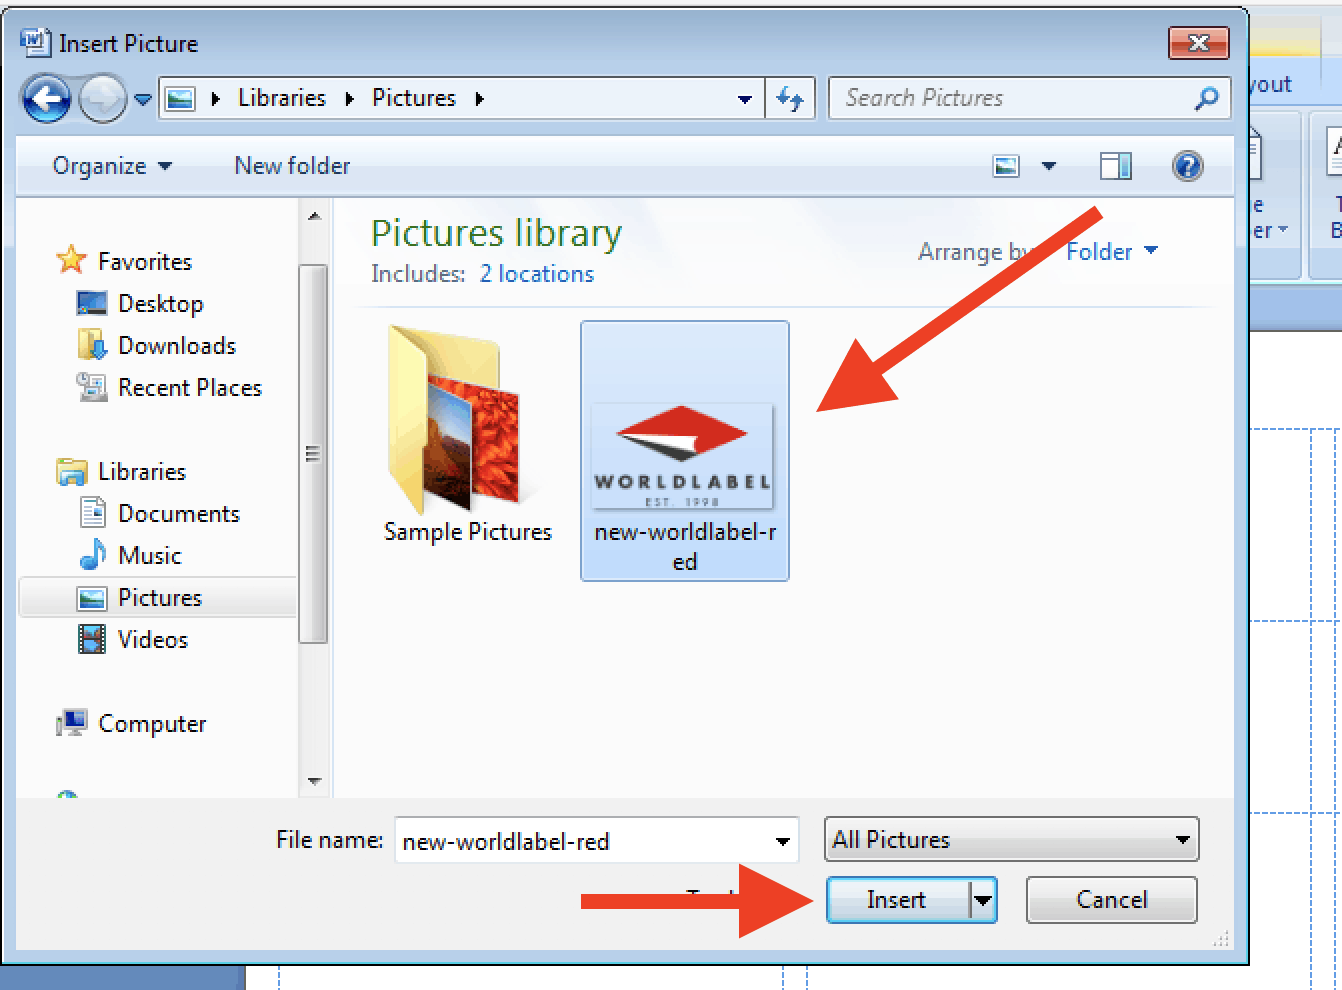
iii. A pop-up Windows Explorer window will appear. From here, you can search your drive for the image you'd like to add to your label. Click on the prototype you lot'd like to add together to your characterization and click Insert from the bottom of the pop-upwards window.
![]()
4. Your epitome is now inserted in the outset label in your sail.
Resizing and Positioning Images in your Labels
Microsoft Word will automatically re-size your image and positon it on the left-paw side of your label. Notwithstanding, you can very hands modify the positioning and resize information technology using Discussion'south built-in Motion picture Tools function.
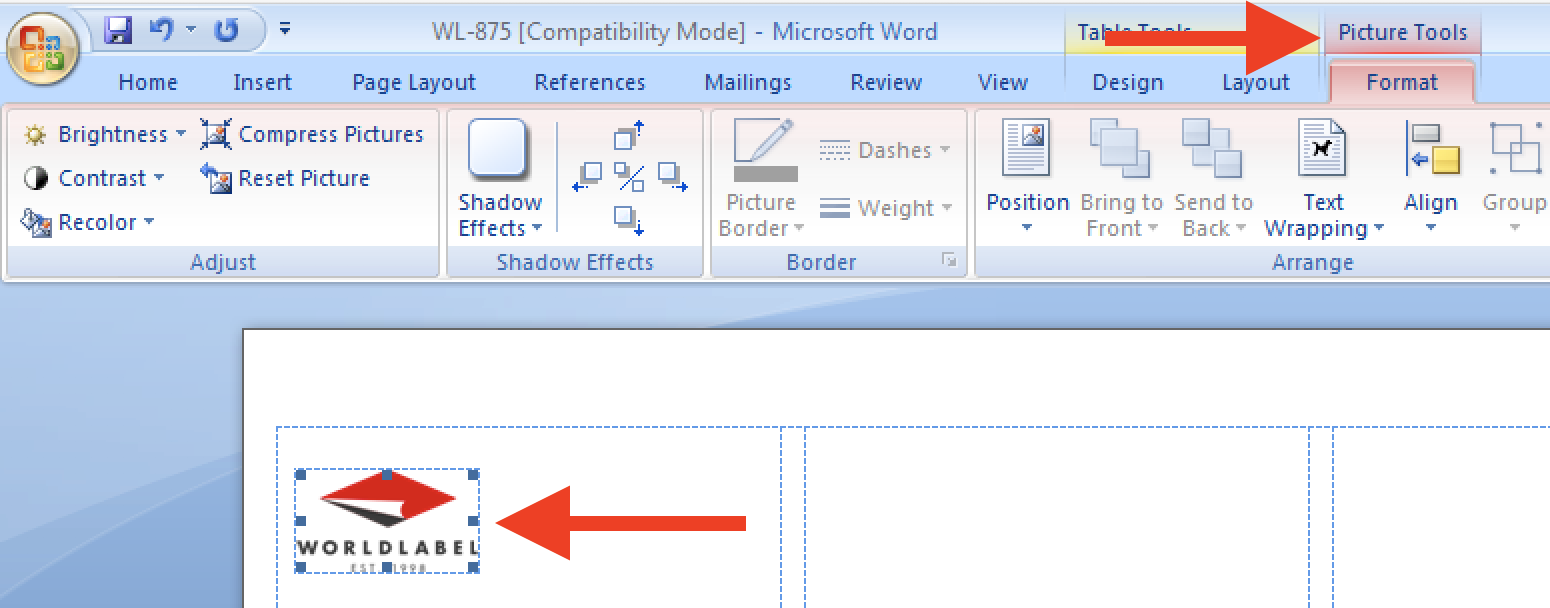
To access this function, click on the image yous previously added to your label and click on the Picture Tools button at the top of the Microsoft Word window. You'll then be brought to the Picture show Tools ribbon card.
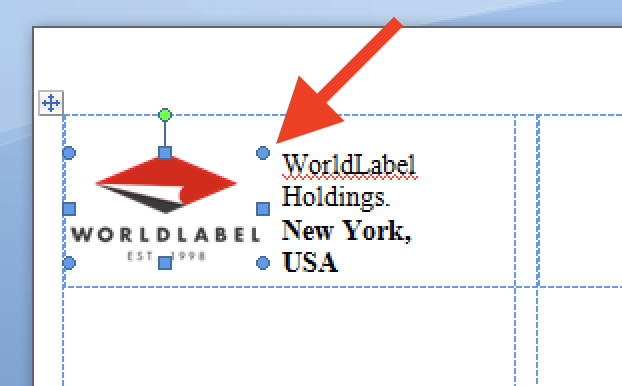
Resizing the image is simple: just drag squares on the sides of your prototype until it's your desired size. Nosotros recommend only using the squares on the corners of your image so yous tin can continue your epitome in proportion.
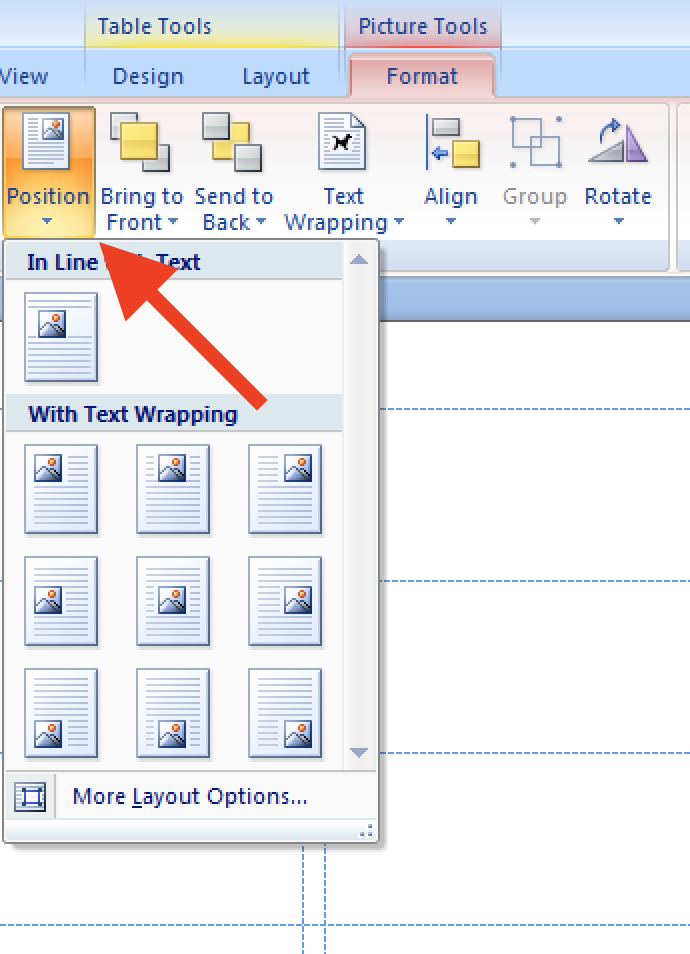
Irresolute the positioning of your image is piece of cake likewise. Click the Position button on the right-hand side of the Picture Tools menu. A drop-down menu will appear that shows all of the positioning options available to yous—select the selection that fits your label all-time.
Note: the positioning options underneath the "With Text Wrapping" header will wrap text effectually your image instead of the epitome being in-line with the text in your label.
Adding Text to your Labels

To add text to your label, only click into the starting time label and start typing. You can use any of Word'southward standard formatting tools to format your text. For case, you lot can cull the alignment, text fashion, and font type.
Copying Images and Text To Multiple Labels
Now that you've added your desired text and images to the get-go characterization in your document, you need to indistinguishable information technology across the other labels on your canvass. Doing this is elementary:
1. Highlight all of the content in your label and press Command-C to copy it to your clipboard.

ii. Click into the blank characterization to the right of the label you just created and press Control-P on your keyboard. This will paste the contents of your label into the bare characterization, making an identical re-create.
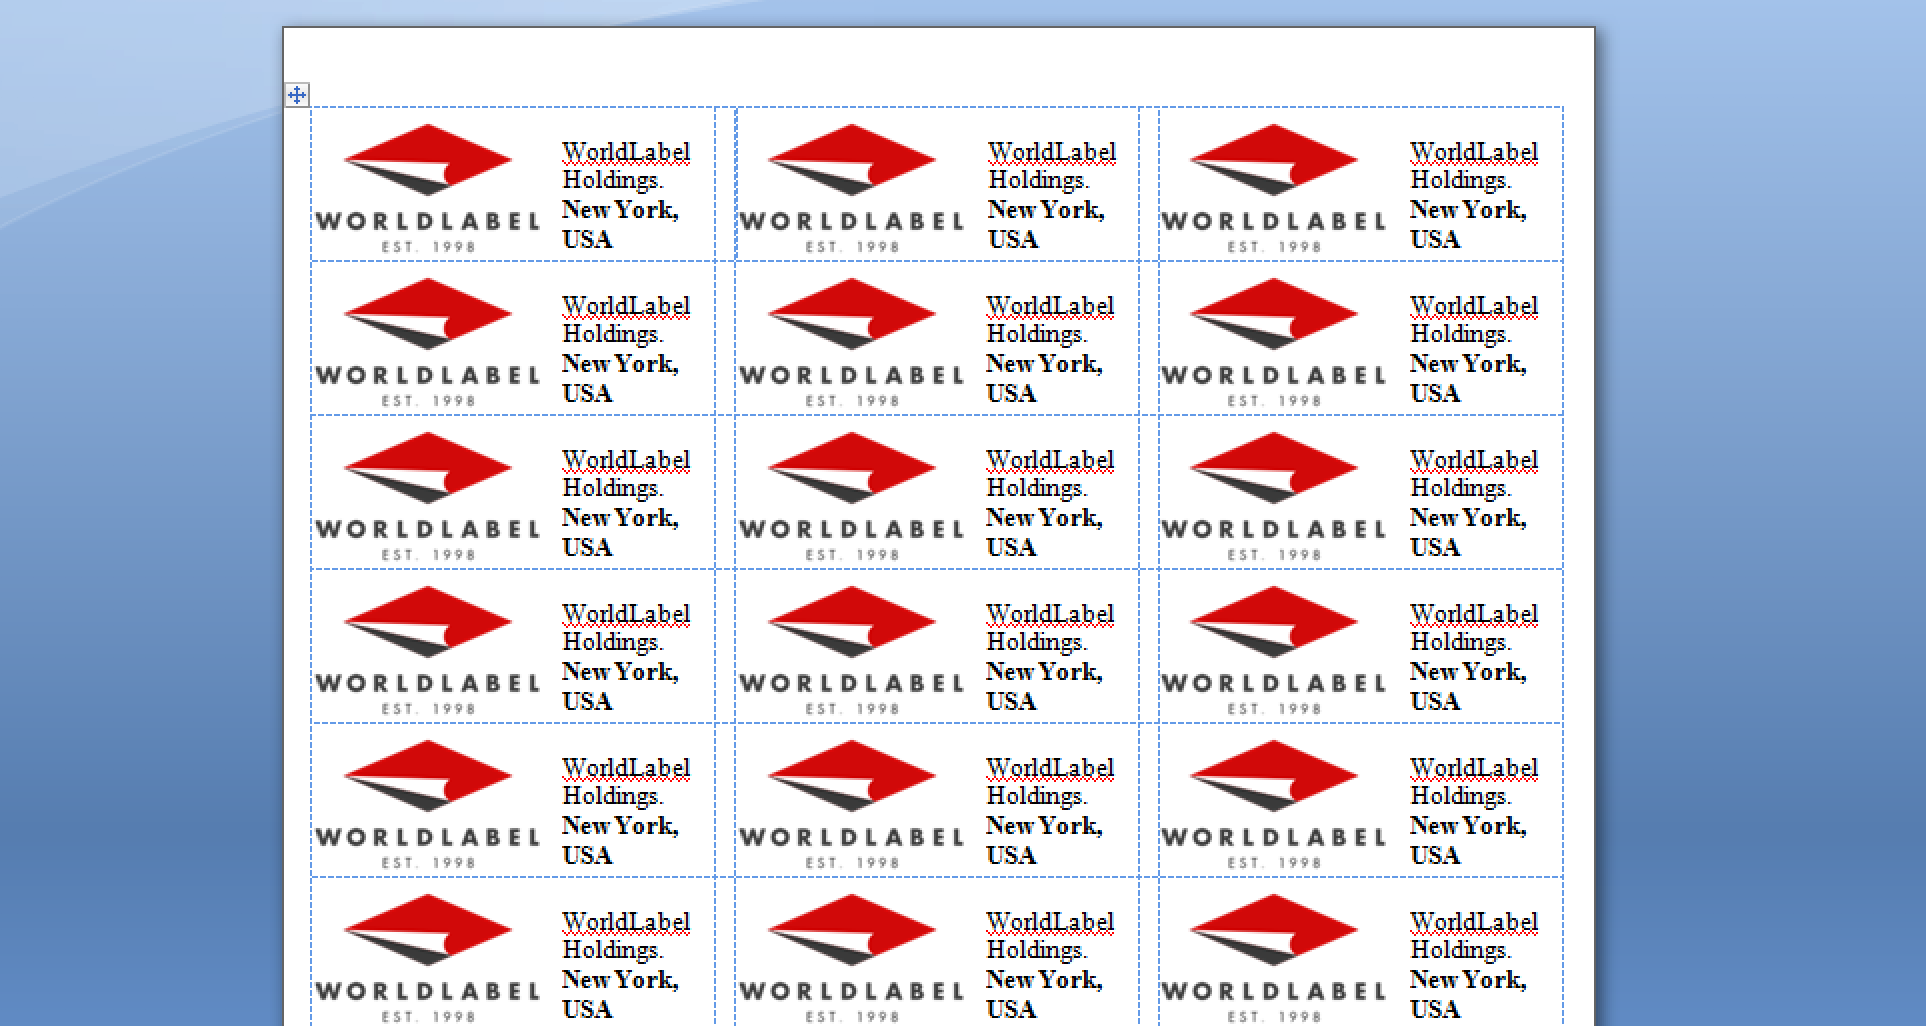
iii. Go along doing this until all of the labels on your page are populated. In one case completed, you're gear up to impress your folio of labels!
Before You lot Print
Remember to e'er test-print your labels to standard sheet of printer paper before printing to label paper. This ensures that y'all won't waste product your label paper if in that location are whatsoever other formatting issues. Afterward you've proofed your exam impress, load your characterization paper into your printer and print your labels.
More Help On Using Word Label Templates:
- How to creat labels using blank Word templates, visit hither
- Creat a Discussion label templates with the same data, visit here
- Using graphics in a Word template, visit here
For our complete drove of complimentary bare Microsoft Discussion characterization templates to download, visit hither
Buying brand name labels like Avery, Staples or Uline? We ship straight from the mill and will salvage you tons! Would you like to test our labels get-go? Nosotros would be happy to transport you lot samples to test.
Give thanks you for visting Worldlabel

How To Paste Words On Avery Template,
Source: https://www.worldlabel.com/Pages/fitimage.htm
Posted by: crawfordthereque1967.blogspot.com
0 Response to "How To Paste Words On Avery Template"
Post a Comment